

IMPORTANT:
If you run into any issues at any point in the guide, please be sure to check the FAQ.
If your issue is not addressed there, join the Discord for support.
Manual Downloads
Root Mods
The following mods, unlike most others, need to be installed directly into the game's Root folder, not through Mod Organizer 2.
Use the Manual Download and follow the instructions provided for each mod.
New Vegas Script Extender (NVSE xNVSE)
An updated version of the original NVSE, which extends the scripting capabilities of the game.Installation instructions
- Main Files - New Vegas Script Extender (xNVSE)
- Open the downloaded archive and move everything to the game's Root folder.
-
After proper install, your Root folder should look like this:
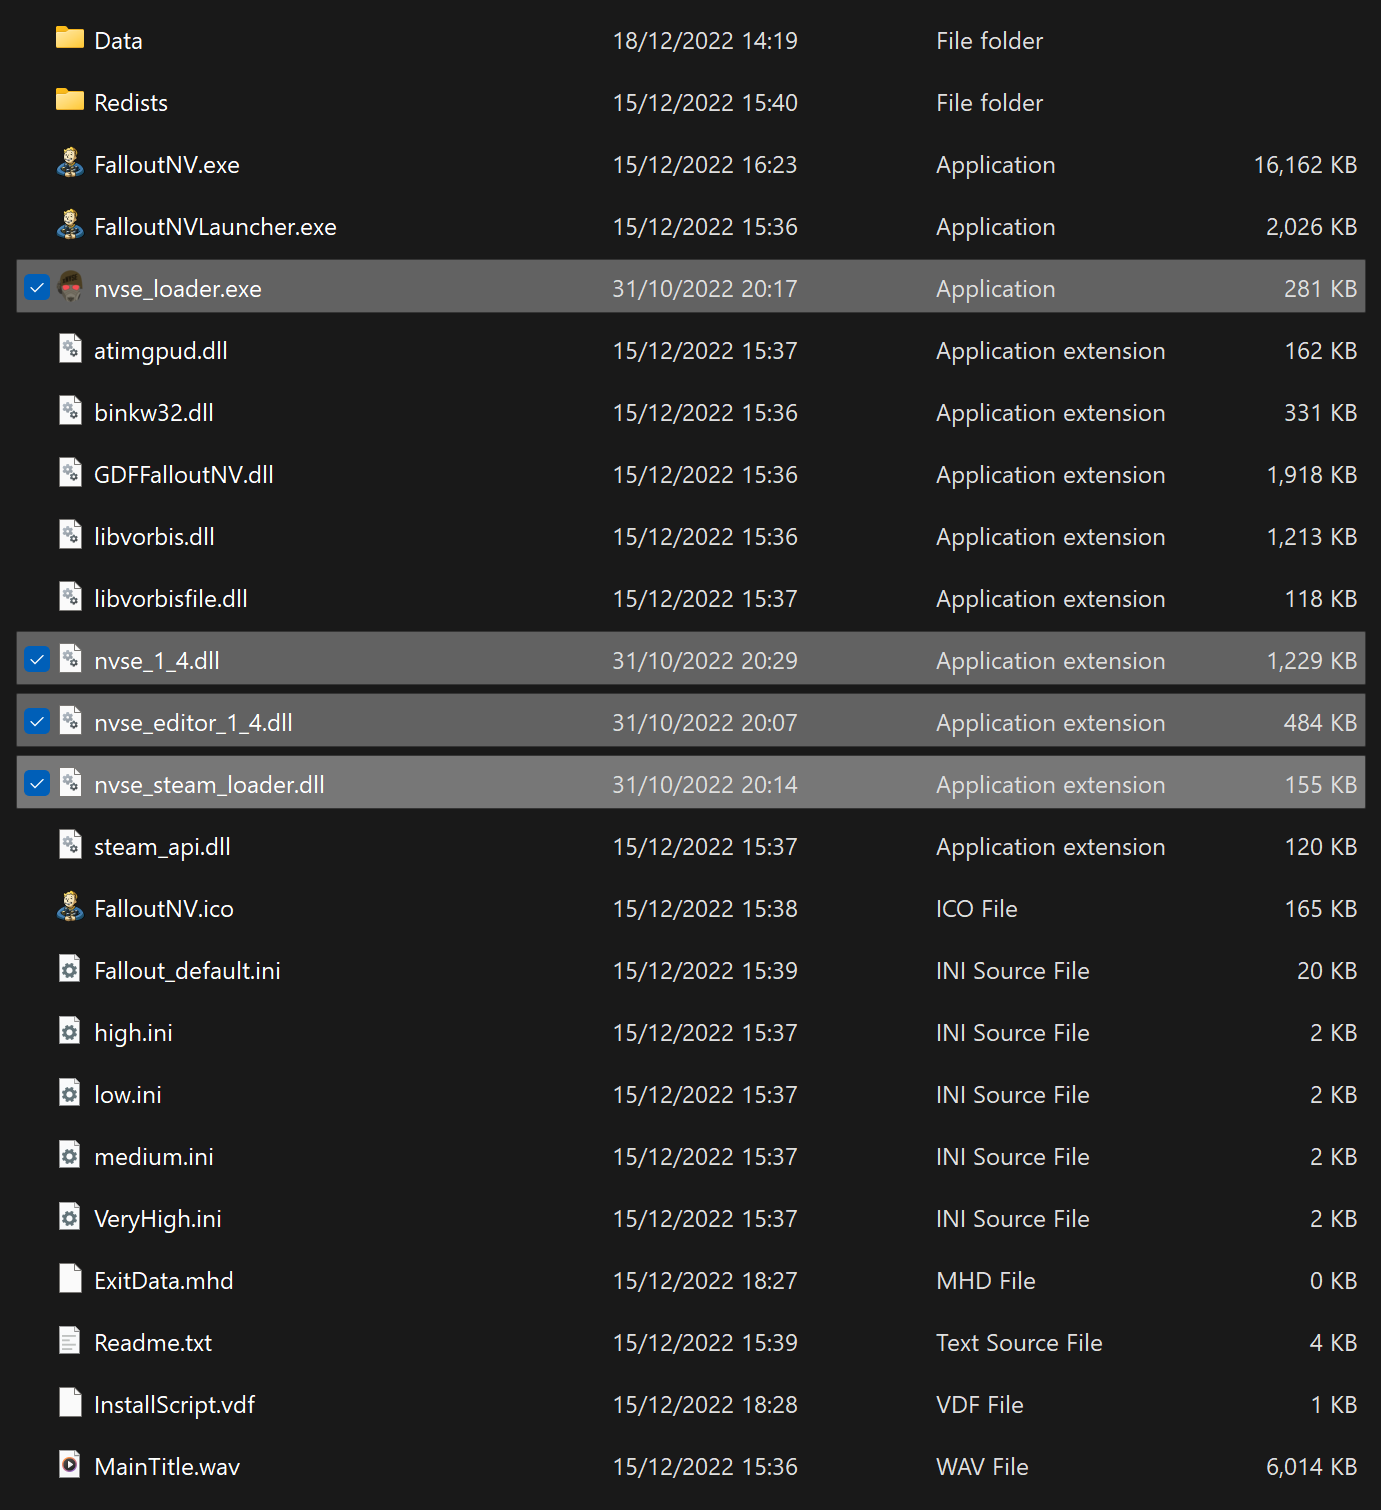
If you do not know what the Root folder is, read the Key Terminology.
Despite its name, nvse_steam_loader.dll is still needed with the non-Steam versions of the game.
FNV BSA Decompressor
Decompresses the vanilla BSA files to reduce loading times and stuttering. Can also fix certain sound effects not playing.Installation instructions
-
Main Files - FNV BSA Decompressor
- Extract the archive and run FNV BSA Decompressor.exe.
- The Fallout: New Vegas and Decompressed Archives paths should be filled by default (Root folder and Data folder respectively). If they aren't, close the program and re-run your game launcher to generate the required registry key.
- Click Decompress, wait for the process the finish, then exit the program once finished.
The EGS release of the game does not create any keys! You need to select the game folder manually!
Ultimate Edition ESM Fixes Remastered
Optimizes and fixes thousands of records across the base game and DLC plugins to increase performance and stability.Installation instructions
-
Main Files - Ultimate Edition ESM Fixes Remastered
- Click the
 button next to the profiles bar in MO2 and select Open Mods folder.
 - Create an empty folder called Fixed ESMs inside of the Mods folder.
- Copy its path.
- Extract the archive and run Installer.exe.
- The Fallout: New Vegas path should be filled by default (Root folder). If it isn't, close the program and re-run your game launcher to generate the required registry key.
- Set the Mod folder path field to the one you copied earlier.
- Click Install, wait for the process the finish, then exit the program once finished.
- In Mod Organizer 2, press F5 to refresh the left pane and enable Fixed ESMs by ticking its checkbox.
The EGS release of the game does not create any keys! You need to select the game folder manually!
- Click the
Game Patchers
Each version of the game requires a different patcher to work with xNVSE.
These patchers allow the game to use up to 4GB of RAM and automatically load xNVSE.
Select one of the following patchers based on your game version.
Steam and GOG
Epic Games
Mod Organizer Downloads
Managed
From now on, select Mod Manager Download to download mods - this will make the file appear in MO2's Downloads tab, ready to be installed according to the instructions earlier in the guide.
Creating a Separator in MO2
- Right-click the empty space in the left pane of MO2 and select Create separator.
- Name the separator Utilities.
JIP LN NVSE Plugin
NVSE extension with new functions and many engine bug fixes.Installation instructions
- Main Files - JIP LN NVSE Plugin
- Main Files - JIP LN Settings INI
JohnnyGuitar NVSE
Another NVSE extension similar to JIP LN.Installation instructions
- Main Files - JohnnyGuitar NVSE
-
JohnnyGuitar NVSE - INI Presets
- Main Files - JohnnyGuitar NVSE - All Tweaks Preset
ShowOff xNVSE Plugin
NVSE plugin adding new functions and engine-level tweaks & bugfixes.Installation instructions
- Main Files - ShowOff NVSE
- Optional Files - ShowOff INI
NVTF - New Vegas Tick Fix
Fixes micro-stuttering, performance and allows playing at higher framerates (up to a safe maximum of ~120).Installation instructions
- Main Files - NVTF
- Main Files - NVTF - INI
kNVSE Animation Plugin
Resource for expanding and improving the game's limited animation system.Installation instructions
- Main Files - kNVSE
UIO - User Interface Organizer
Automatically ensures that multiple HUD extensions work together, as well as fixing many bugs and improving performance.Installation instructions
- Main Files - UIO - User Interface Organizer
Linux users!
Proton 8.0-5 crashes with UIO! Please use Proton 8-25 or newer.
hNVSE
An NVSE plugin that adds automatic region list merging, which reduces the amount of patching needed for mods that add new regions.Installation instructions
- Main Files - hNVSE
FNV Mod Limit Fix
Raises the game's file handle limit and improves performance/loading times, even if you are far below it.Installation instructions
- Main Files - MLF
Yvile's Crash Logger
A DLL that logs raw crash data.Installation instructions
- Main Files - Crash Logger
Improved Console (NVSE)
Enhances the console's abilities to be able to execute and print results from all available script commands. Full scripting support inside console, including creating variables and evaluating NVSE expressions (arrays, strings) for easy mod development and prototyping. Mouse wheel scrolling included too.Installation instructions
- Main Files - Improved Console
Console Paste Support
Adds Ctrl+V as a hotkey to paste into the in-game console, along with a few other helpful shortcuts.Installation instructions
- Main Files - Console Paste
Shader Loader - NVSE
Allows loading shaders from loose files.Installation instructions
- Main Files - Shader Loader - NVSE
ISControl Enabler and Ironsights adjuster
Dynamically adds ISControl node system animation support and easy per-weapon sights adjustment.Installation instructions
- Main Files - ISControl
No Exit to Main Menu
Removes the Pause Menu option for exiting to the Main Menu, helping prevent issues that can arise from starting a new game after exiting.Installation instructions
- Main Files - No Exit to Main Menu
Game Configuration
Custom INI
In this step we will take advantage of JIP LN NVSE's FalloutCustom.ini feature to improve performance and stability without affecting the main INIs.
FalloutCustom.ini is a special settings file that overrides all other game INIs. This INI is exclusive to the user, meaning that the game or its launcher cannot change it.
This allows you to change settings without the fear of being overwritten, and removes the need of tracking which settings go into which file.
- Click the
 button at the top of MO2 and select INI Editor.
 - Select the FalloutCustom.ini tab, which should be blank. In case it's not, clear the file.
- Click the
 button at the top of MO2.
 - Enable all options.
- Paste in the following:
If you don't see the FalloutCustom.ini tab:
It is highly recommended to avoid changing any other INI settings not in the guide, and to avoid using tools like Bethini. You will realistically not need any other tweaks than the ones already in the guide.
Testing Utilities
- Restart your PC (otherwise some plugins might fail to load).
- Install the ML Utilities Checker with Mod Organizer 2, just like the previous mods.
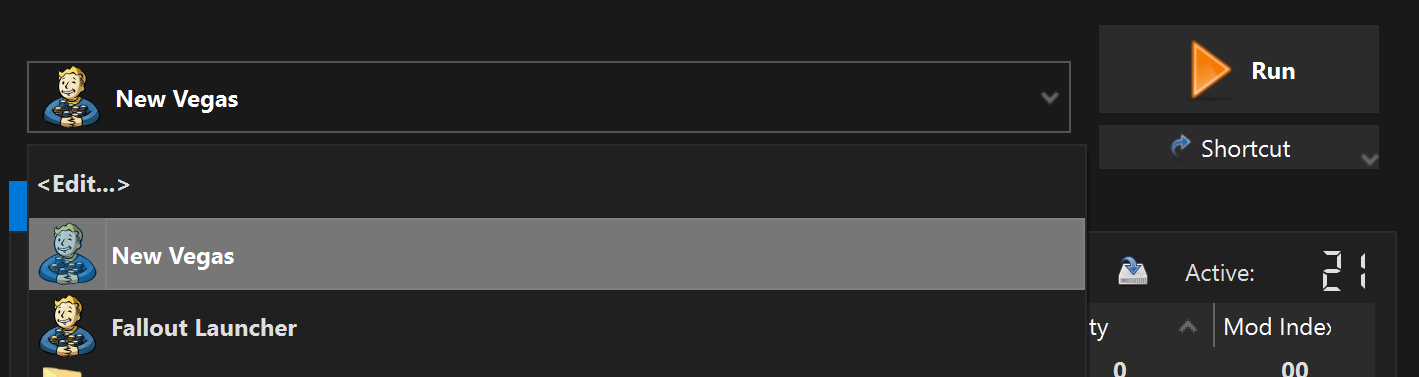
- Launch the game using the New Vegas option in MO2 (not NVSE).
- Once the game has reached the main menu, wait a few seconds and you will see a message box from the Utilities Checker.
- Close the game and disable the ML Utilities Checker.
If any utility fails the check, first visit the FAQ section. If you still need assistance, open a support thread in the ModdingLinked Discord server.